“The Science of Sailing” – Curriculum
|
Learning objectives Students will:
Timing : Eight 90-minute sessions (can alternatively be presented in 16 45-minute or 24 30-minute segments) |
||
|
|
||
Lesson 1: Vocabulary and Introduction to Sailboats |
||
Introduction:
|
Provide an introduction to the course and explore the components that make up a sailboat. Explore how sailboats function, as well as the physics and mathematics that will be learned in the class. |
|
Parts of the Boat |
Provide an overview of terminology so the course can progress at the desired pace. Describe the parts of the boat using pictures of the typical local sailboat and a ditto, flash cards, or worksheet to spread the language of sailing to non-sailors. |
|
Parts of the Sail |
Familiarize students with the various components of sails used. While teaching the vocabulary, explain what each part does and how it works, while encouraging students to figure out the why it works on their own. |
|
|
|
||
Lesson 2: History of Sailboats and Boat Design |
||
History of Progression of Sailboats |
Sailboats have a long history which provides important insights into why boats have become what they are today. A detailed history of sailboats expands students’ horizons and allows them to be able to integrate an older design into a newer design. You can also engage a wide variety of students with good historical stories of certain types of vessels. | |
Historical Designs |
Provide a list and set of historical designs for students to reference while designing their own vessel. Give the students perspective for designing their boat with an explanation of certain designs, why they were built and for what regions. | |
Modern Designs |
Provide a list and set of modern designs as well so students can work on improving their design. Again, a list will provide a reference while an explanation of the designs and why they were built for what regions will help students think more thoroughly about their design. | |
|
|
||
Lesson 3: How a Sailboat Works – Part 1 |
||
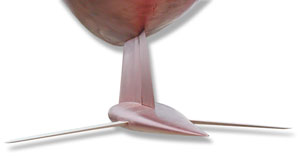
Hulls |
Provide an explanation of different hull types and why designs differ. Introduce students to the different types of hulls they could potentially use. Describe why certain hull shapes are preferable to others Discuss the advantages and disadvantages of different hull types. | |
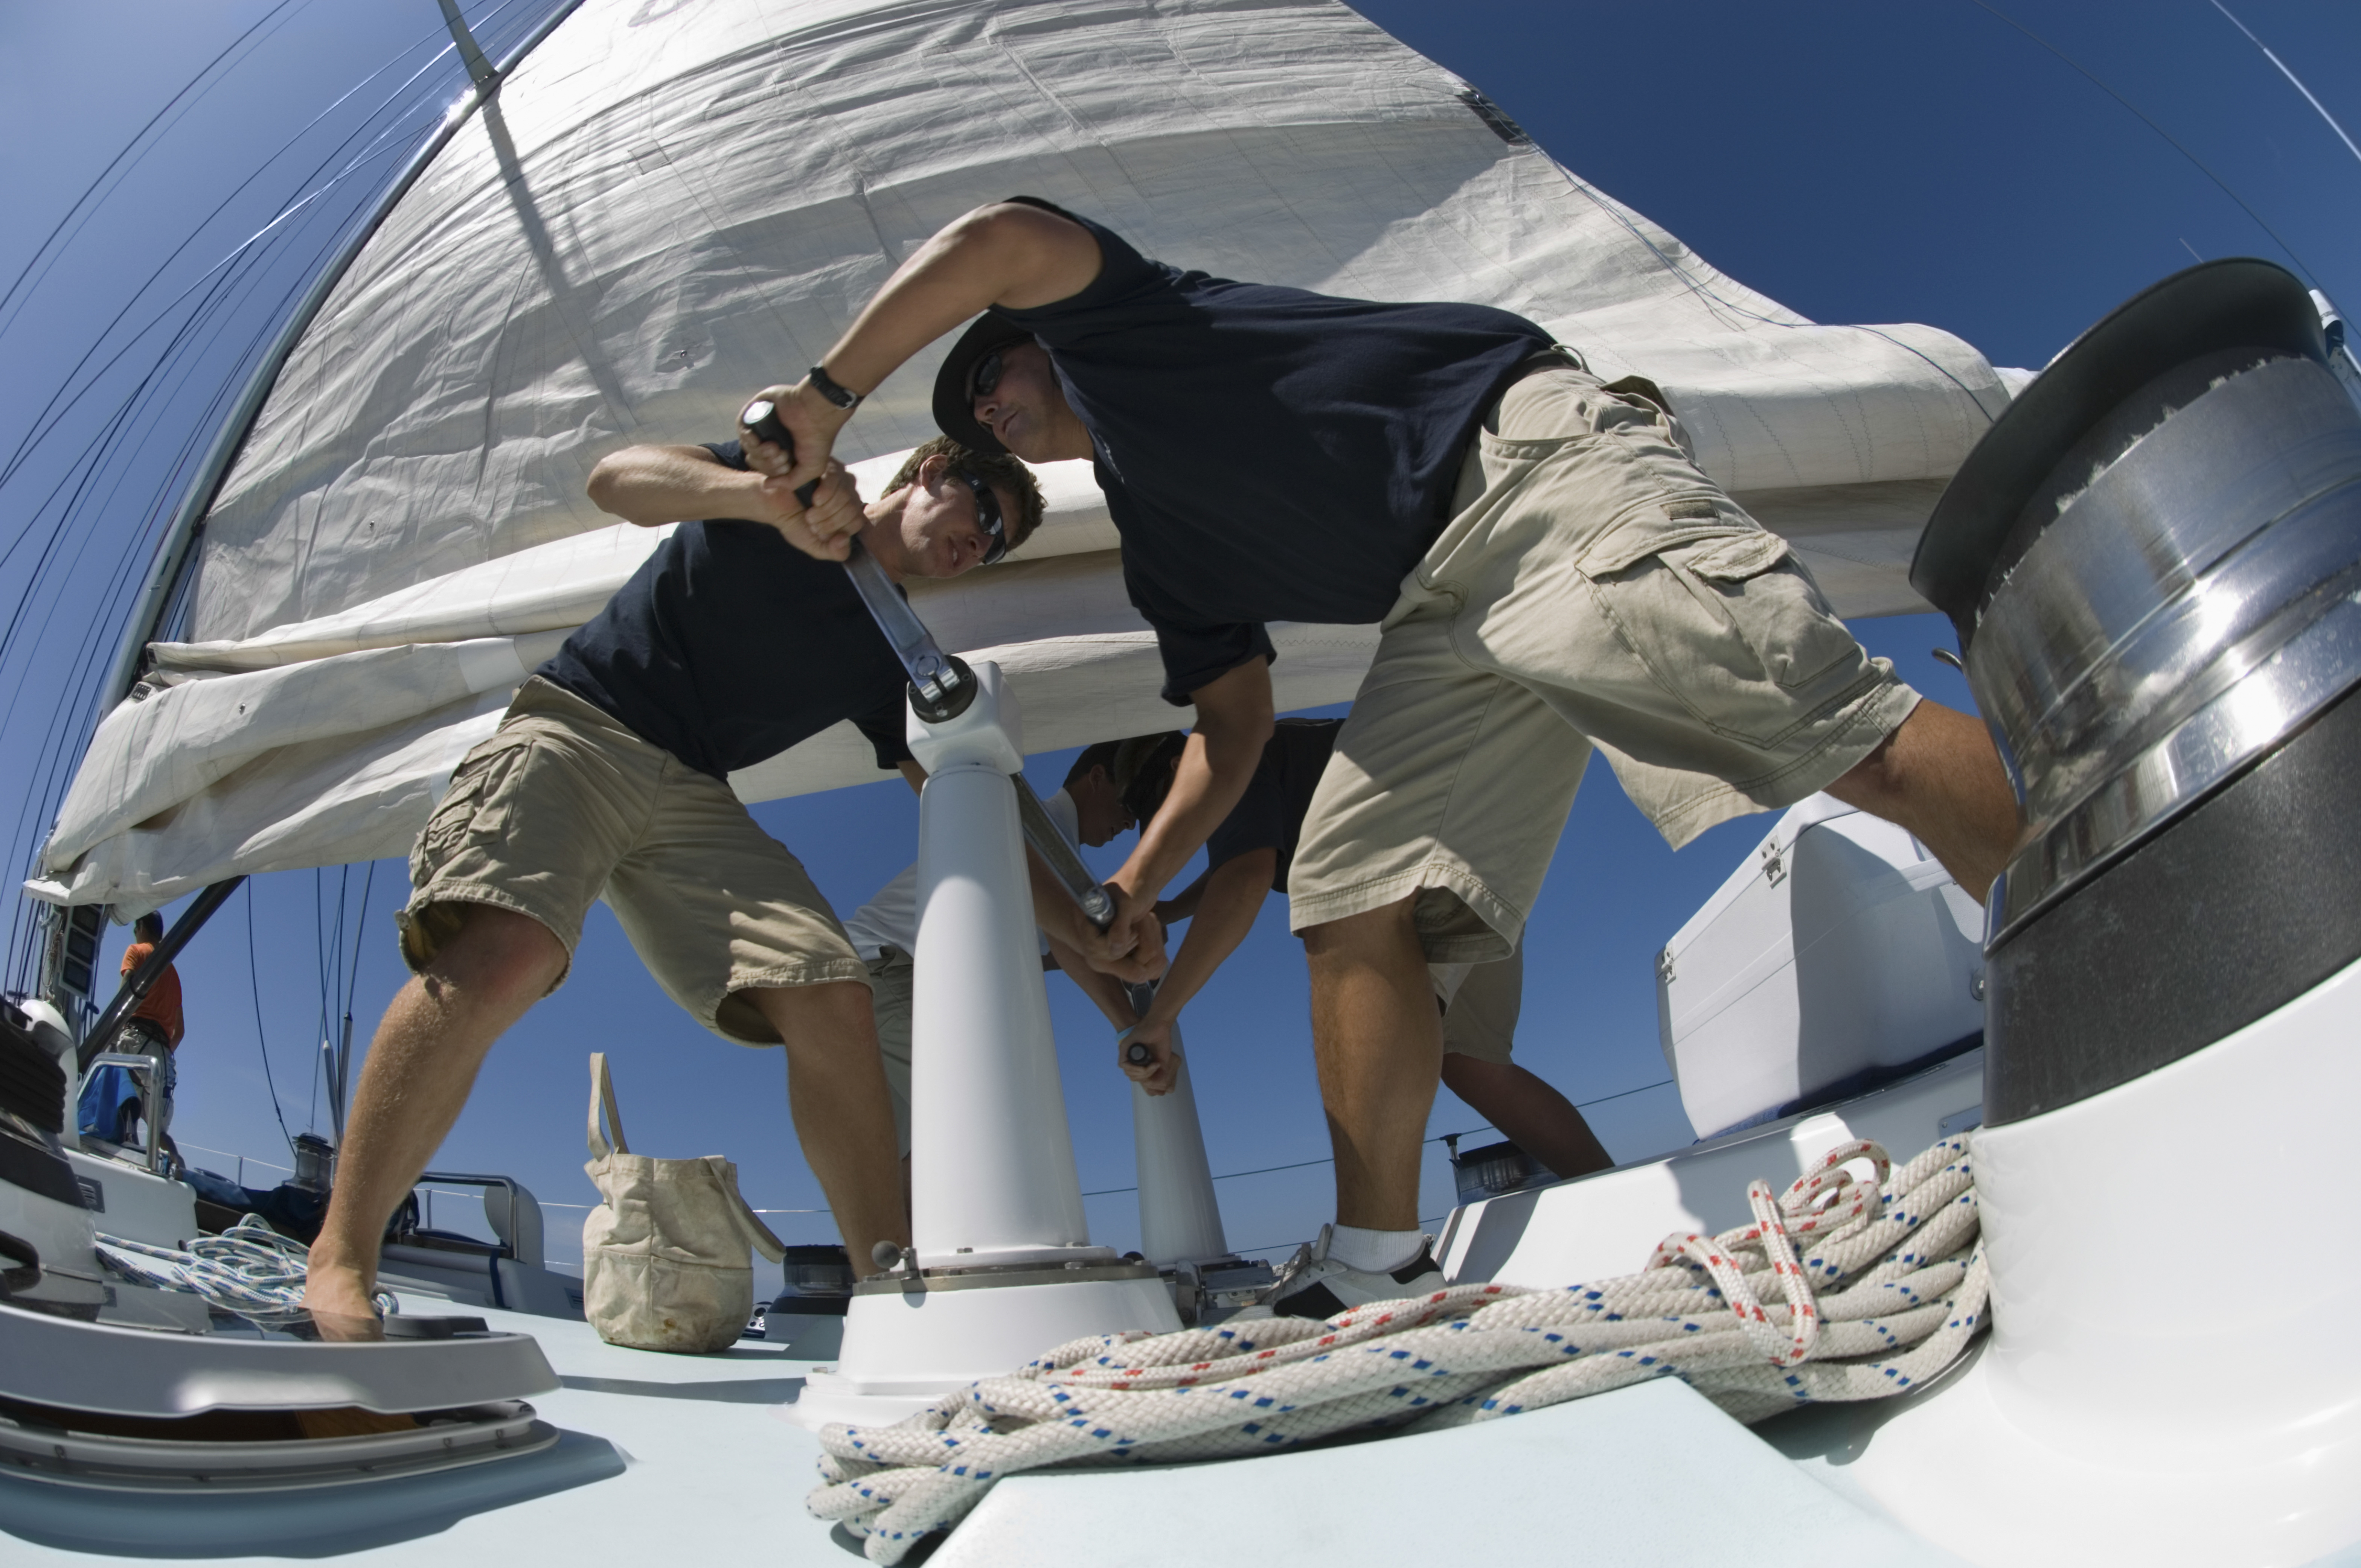
Sails |
Describe different sail configurations and explain the reasons why some boats have different sail plans. Discuss how sail design has progressed through the ages, and why most boats today have a sloop rig. However, different sail designs and sail plans have different advantages and disadvantages. Expose students to different types of rigging — explaining why different rigs are used in different situations may inspire a student to build a more unique boat. | |
Fluid Dynamics |
Provide an introduction to fluid dynamics and theories that will be applied to the boat: lift, drag, Newton’s three laws, vector addition, Bernoulli’s Principle, and the Coanda effect. | |
|
|
||
Lesson 4: How a Sailboat Works – Part 2 |
||
Buoyancy |
Since boats are designed to be on the water, they need to float. A buoyancy lesson will weed out poorly thought-out designs and help redirect students to a realistic approach. | |
Displacement |
Displacement is key in how a boat moves through the water. Without displacing water a boat would sink, so It is important to touch on this subject and have students figure out hull speed. This is also a great time to introduce planing. It is also a great tie-in with buoyancy because the boat must displace the water equal to its density in order to float. Since displacement can be viewed in so many different ways, it is a good idea to have students work on what other ways displacement could affect the boat. | |
Forces on the Boat |
Provide a physics lesson on all the forces that have been discussed up to this point as well as any others that may affect the way the sailboat works. Focus on the sails, the keel, the hull and the forces they enact, counteract, and react to. | |
|
|
||
Lesson 5: Stability |
||
Center of Gravity |
Center of gravity is linked to buoyancy and displacement. Expand the lesson into discussing righting moment, heeling moment and capsizing moment. Initial stability vs. ultimate stability are important topics to discuss. | |
Center of Buoyancy |
Center of buoyancy determines where and when the lever arm created by the keel and the boat will try to right the boat, and how it naturally wants to sit in the water. From this, you can also calculate torque and how much effort is needed to right each particular boat. | |
Initial Stability vs. Ultimate Stability |
When combining the center of gravity and center of buoyancy lessons, you will ultimately discuss initial stability and ultimate stability. The two are very important to talk about because of the age-old argument of multihulls vs. monohulls. This will demonstrate the differences between a boat which takes a lot of effort to heel and a boat that constantly heels but takes a lot of effort to flip or roll. | |
|
|
||
Lesson 6: Rough Draft and Peer Revisions |
||
Checking Designs |
Assign students to small groups (usually four or less) and instruct them to put the knowledge they have learned thus far into action by critiquing their classmates’ designs. This group activity will stimulate student-directed reflection on what they have learned thus far and improve all of the students’ designs. | |
Peer Workshop |
Have students incorporate their classmates’ feedback and additional instructor input to brainstorm about how they can make their design better. After their design has been checked, students can offer alternative ideas to other classmates. This can be done while still working in groups, or the exercise can be used to bring the class back together as a whole. Having students show the changes to their design will demonstrate new design ideas and how all of the students can change and tweak their own design to make it more efficient. | |
Time to Work on Revisions |
Students will be excited about what their classmates have told them and they will want to apply those ideas right away. Give them sufficient time to do this or the improvements may never be made. | |
|
|
||
Lesson 7: Boat Design and Utility |
||
How Location can Affect Sailing Situations |
Different boats are made for different regions of the world. Remind students of this and allow them to think about where they would want to sail their boat. This may impact their final design. Catamaran cruisers are preferred in the Caribbean due to the space they provide and because they don’t need to dock. The low topsides allow for easy diving off of the back, and easy dinghy access to and from the boat and dock. On the Chesapeake Bay, Marconi sloops with a shoal draft keel are preferred due to the great speed they can attain in all types of winds and with the shallow depth of the bay. Sailing across oceans also dictates a different set of preferences for boat design. |
|
Activities Allowed |
Certain boats have restrictions on what can be done on them. For example, a pure race boat is not very comfortable and therefore would not be great for a family vacation, while a pure cruising boat is not going to be very fast on a race course. Ask what activities the students plan on doing with their boat, and whether their design best supports these activities to take place? They may need to modify their design based on how they want to sail their boat. | |
Construction Materials |
What materials will be chosen to build their design? Different materials have different properties and different costs. Encourage students to think about a market broader than themselves, leading them to possibly further alter their designs and/or materials based on what they would want to spend and their target audience. For example, carbon fiber is an amazingly light and strong material, however it doesn’t flex well — as the Volvo Ocean racers found out this past year. Fiberglass can be more flexible, however it is not as strong and not as light as carbon fiber. Wood is a classic material that brings a certain majestic look to boats, and is very flexible, fairly strong, and decently light, but requires a lot of maintenance, even when the boat is not in use. | |
|
|
||
Lesson 8: Final Paper and Presentations |
||
Final Exam |
The amount of math and science learned in this class allows for a final test to be given. This is an excellent way to measure the effectiveness of your teaching and of student participation in the class. It should include questions about density, volume, buoyancy, torque, Newton’s Laws, Bernoulli’s Principle, Coanda effect, basic algebra, and arithmetic. This test will vary based on what your class has learned and covered throughout the course. | |
Papers |
A final paper should be submitted to demonstrate that this class is teaching cross-curricular skills such as writing and research. A basic paper should describe why the students came up with their particular design, what inspired them to build this particular boat, and why they think their boat would be a good boat to sail for their chosen purpose. |
|
Boat Design Presentation |
Students should give a final presentation to improve their public speaking abilities. This should be based on a variety of questions including those from the paper, however it is suggested that multiple questions be asked so that the student audience does not get bored while hearing similar presentations back-to-back. | |